
Post Summary: Your First Visit to Arches National Park
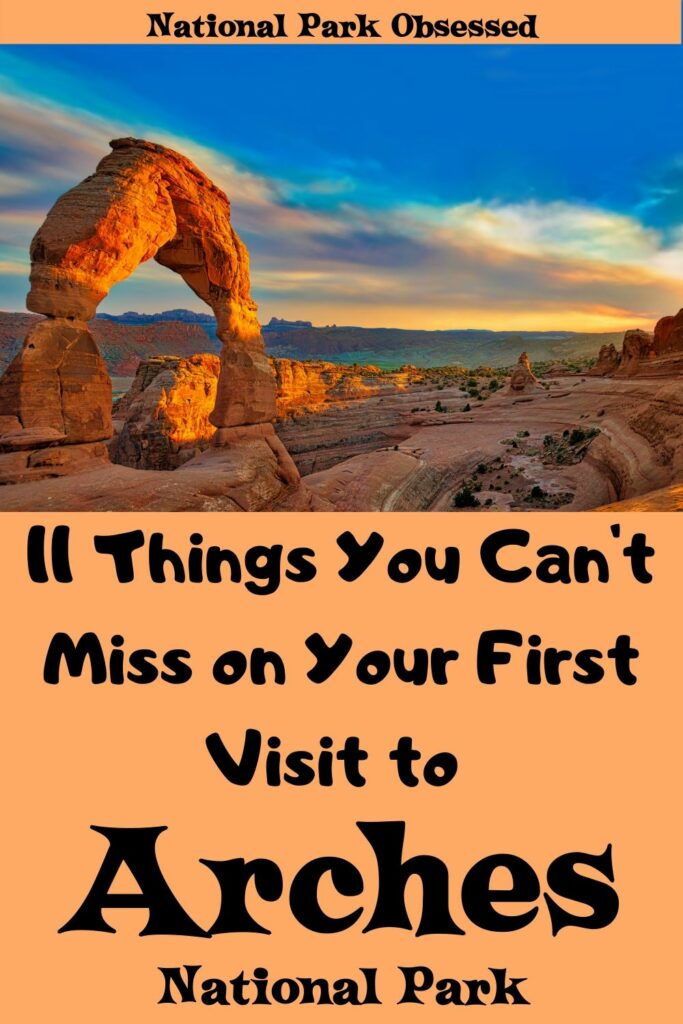
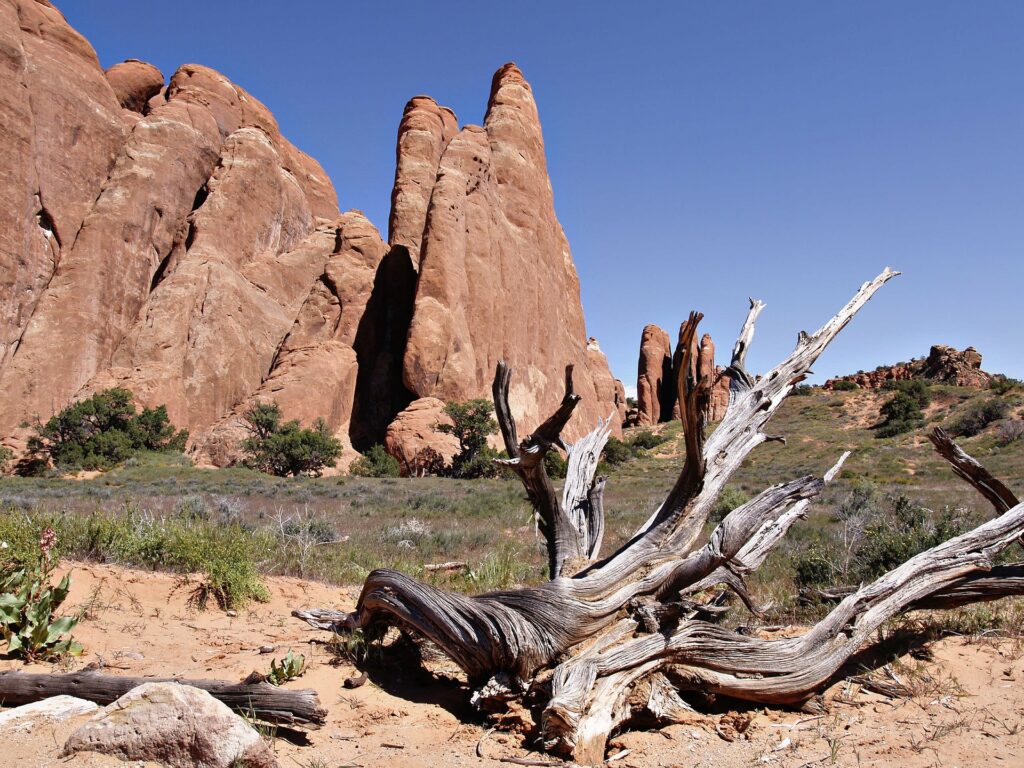
Planning a trip to see the sandstone formations of Utah? Arches National Park is home to the largest concentration of natural arches in the United States. With more than 2,000 natural arches located within the park, it is not uncommon to ask “what must I see in Arches National Park”. With an area of 120 square miles of sandstone with an average of 1.4 million visitors, there is no shortage of things to do in Arches National Park. Here are my top 11 things you can’t miss on your first visit to Arches National Park.
Best of Arches National Park in a Nutshell
TIMED ENTRY: Arches Timed Entry Permits
FIRST VISIT: Must-sees for the first visit to Arches
LODGING: Arches Campgrounds
ROAD TRIPS: Utah National Parks
NEARBY PARKS: Bryce Canyon, Capitol Reef, Canyonlands, Zion
This post may contain affiliate links, meaning if you book or buy something through one of these links, I may earn a small commission at no extra cost to you! Read the full disclosure policy here

Things to Know before you go to Arches National Park
- There is only one road in and out of Arches National Park.
- There is only one visitor center, located just inside the main entrance 5 miles north of Moab. The visitors center is open year-round, except for December 25.
- Drinking water is ONLY available at the visitor center and Devil’s Garden. Plan accordingly and make sure you carry water on your hikes.
- Please stay on the trails. The soil in Arches National Park has a biological crust made of a complex community of cryptobiotic life. These communities are fragile and take years to recover when damaged.
- Be prepared when visiting the park; average temperatures can fluctuate from 30º F to 80º F during the fall and spring months. Summer months can see temperatures exceeding 100º F and flash floods. It’s not uncommon for winter months to see temperatures around 0º F.
- Always dress accordingly, pack extra layers, and bring at least 1L of water.
- With the open landscape, there is a shortage of shade, sunglasses and sunscreen are recommended. Even during the winter months reflections from the snow on the ground can be just as harmful as the summer sun.
- There are no gas stations within Arches National Park, so plan accordingly. Although there is gas along Highway 191 outside the park.
- Devil’s Garden Campground is the only campground inside the park. The campground is 18 miles from the park entrance. Sites are usually reserved months in advance. If visiting between March and October, sites can be reserved 6 months in advance. If visiting between November and February, sites are reserved on a first-come basis. All sites include drinking water, picnic tables, and grills.
- Backpacking is available; however, there are a small number of sites around the park. Backcountry Permits are required to be obtained in person at the visitor center.
How to Get to Arches National Park
The closest airport to Arches National Park is Grand Junction Regional Airport (GJT). This small airport is located about 1.5 hours from the park. The closest major airport is Salt Lake City International Airport (SLC), located just over three and a half hours away from the park entrance. If you are road tripping through several of the nearby Utah, Colorado, Nevada or Arizona National Parks, airport options include Las Vegas (LAS), Denver (DIA) and Phoenix (PHX).
Arches National Park is located about 5 miles north of Moab, Utah along US-191
There are several shuttle operators who run daily shuttles from Grand Junction or Salt Lake City to Moab, Utah. Currently, there is no public transportation within Arches National Park.
Estimated Drive time to Arches National Park from major cities
- Grand Junction, Colorado – 1.5 hours
- Salt Lake City, Utah – 3.5 hours
- Las Vegas, Nevada – 5.25 hours
- Denver, Colorado – 5.25 hours
- Phoenix, Arizona – 7.5 hours
Related – Best RV Rentals in Salt Lake City
Estimated Drive time to Arches National Park from nearby National Parks
- Canyonlands National Park – 0.5 hours
- Capitol Reef National Park – 2 hours
- Black Canyon of Gunnison National Park – 3 hours
- Mesa Verde National Park – 3 hours
- Bryce Canyon National Park – 4 hours
- Zion National Park – 5 hours
- Great Basin National Park – 5 hours
- Grand Canyon National Park – 5 hours
- Great Sand Dunes National Park and Preserve – 6 hours
- Rocky Mountain National Park – 6.5 hours
- Yellowstone National Park – 8 hours
Best Guided Day Tours in Arches National Park
Arches Timed Entry Reservations
Where to Stay in Arches National Park?
- Under Canvas Moab – Under Canvas is a luxury tent camping. This glamping hotel provides safari-style canvas tents that allow one to tent camp in style.
- Check out the prices and availability.
- Read the Tripadvisor Reviews.
- Sunflower Hill, A Luxury Inn – Sunflower Hill is an oasis in Moab. This small luxury inn with a private pool and relaxing garden to chill after your busy day.
- Check out the prices and availability.
- Read the Tripadvisor Reviews.
- Hyatt Place Moab – Hyatt Place Moab is a mid-range family-friendly hotel. The Hyatt is located north of Moab and is pet-friendly and has a pool.
- Check out the prices and availability.
- Read the Tripadvisor Reviews.
- Expedition Lodge – Expedition Lodge is an affordable family-friendly hotel in Moab. This vintage hotel has fun amenities such as a heated pool including a hot tub and kiddy pool plus an arcade and lounge. This hotel is pet-friendly.
- Check out the prices and availability.
- Read the Tripadvisor Reviews.
What to pack for a visit to Arches National Park?
- America the Beautiful National Parks Pass: Arches National Park costs $30 for a 7-day pass. If you intend to visit more than 3 National Park Services sites in a year, the America the Beautiful Pass will more than pay for itself.
- National Park Passport – The National Park Passport Book is the cheapest and best souvenir of your national park adventures. This book makes it easy to collect the National Park Cancellation Stamps. The cancellation stamps have the date of your visit and make it easy to track when you visited each national park service unit.
- Refillable Water Bottles – Do your part to reduce litter in our parks by bringing a refillable water bottle with you. A reusable and refillable water bottle can save you a lot of money and really help the environment. Here are my favorite water bottles
- Hydration Bladder – If you are hiking longer distances, a hydration bladder is the best way to hike with significant quantities of water. It is a rare hike when I don’t bring a full bladder with me.
- Snacks – There are limited services in the park. So pick up all your snacks before you go. Pack a couple of different options so you are prepared for any craving.
- Fruit: Pick hard fruits such as apples or pears. These hold-up in the heat and in packs without getting squished to mush. Another option is freeze-dried fruit. Freeze-dried strawberries are the BOMB. They are crunchy, sweet and the best part is they are lightweight and yummy. These are my new favorite trail snack.
- Vegetables: Cucumbers and carrots hold up well during hiking and in a hot car.
- Granola Bars: Take your favorite non-coated in chocolate granola bars. Anything coated in chocolate will melt and be a sticky mess. My favorite is a selection of Cliff Bars. They are great even when squished.
- Sunscreen – You don’t want to get burned on your visit.
- Lip balm – Your lips need just as much sun protection as your skin does.
- Sunglasses – Similar to sunscreen, you need a good pair of polarized sunglasses to protect your eyes from the glare of the sun.
- Hat – Hats are another sun protection device. A hat can keep the sun off your face and neck and help minimize the need for sunscreen while on the trail.
- First aid kit – As with any outdoor adventure, accidents happen. It is better to be prepared and have a compact first-aid kit ready to help with any accidents.
- Headlamp – Always keep a headlamp handy. You never know when you might want it. It can be used for midnight bathroom runs to sunrise/sunset hikes. A good headlamp makes it easy to operate in the dark.
- Shoes – Shoes are probably the most important piece of gear to any hiker. Hiking shoes should be seen as an investment. On the trail, your feet are your transportation and a solid pair of hiking shoes help support your feet and can prevent injury.
- Hiking Day Pack – A good day pack is the best way to transport all your gear when hiking. I highly recommend getting a backpack that is designed for outdoor use. These packs come with handy pockets and straps. My 40 L day pack has a pocket for my water bladder and a clip to hold the water line in place.
- National Park Obsessed Shirt – Share your love of the National Parks and support National Park Obsessed with a National Park Obsessed T-Shirt.
If you are new to visiting a the National Parks, check out our National Park Essentials Guide to get your started.
11 Things to do in Arches National Park
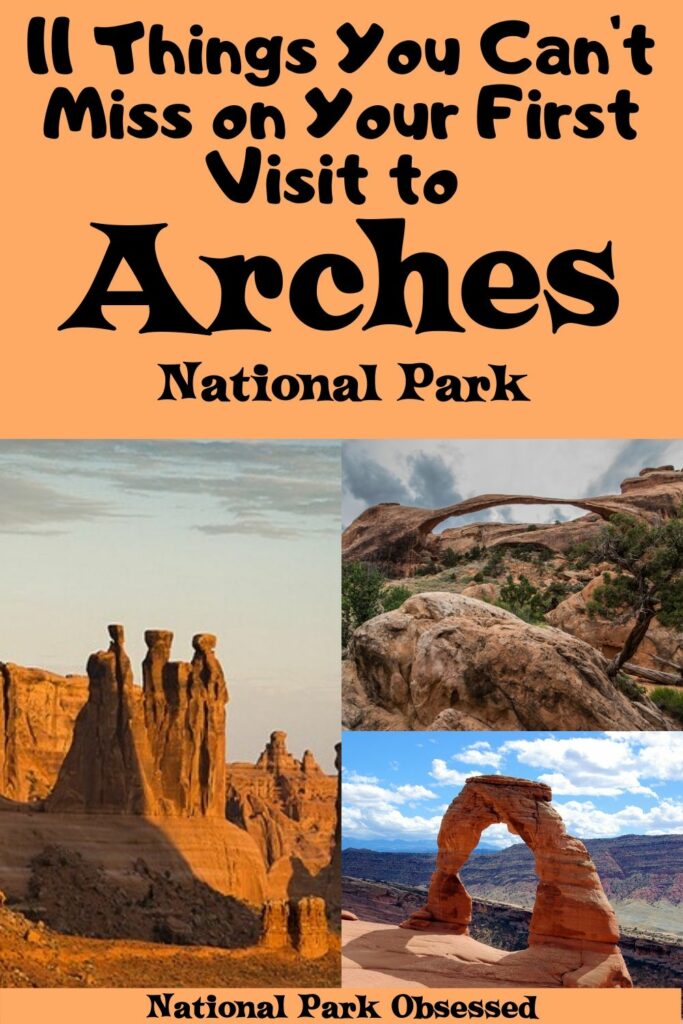
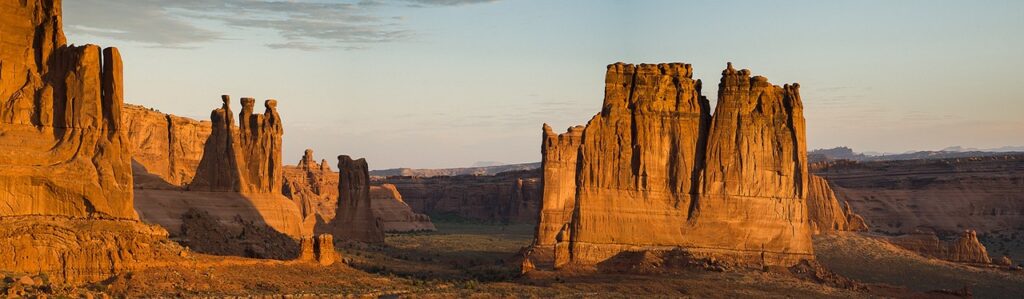
Park Avenue
Park Avenue Trail is the first stop after entering the park. The trail begins at the parking lot 2.5-miles after passing the visitors center. The 1-mile roundtrip trail follows the bottom of a canyon at the base of the monolithic sandstone features. After the first 320-feet of pavement to the viewpoint, the trail becomes steep to the bottom of the canyon. The trail ends at the Courthouse Towers viewpoint parking area, retrace your steps back up the canyon instead of walking the paved road back to the trailhead.
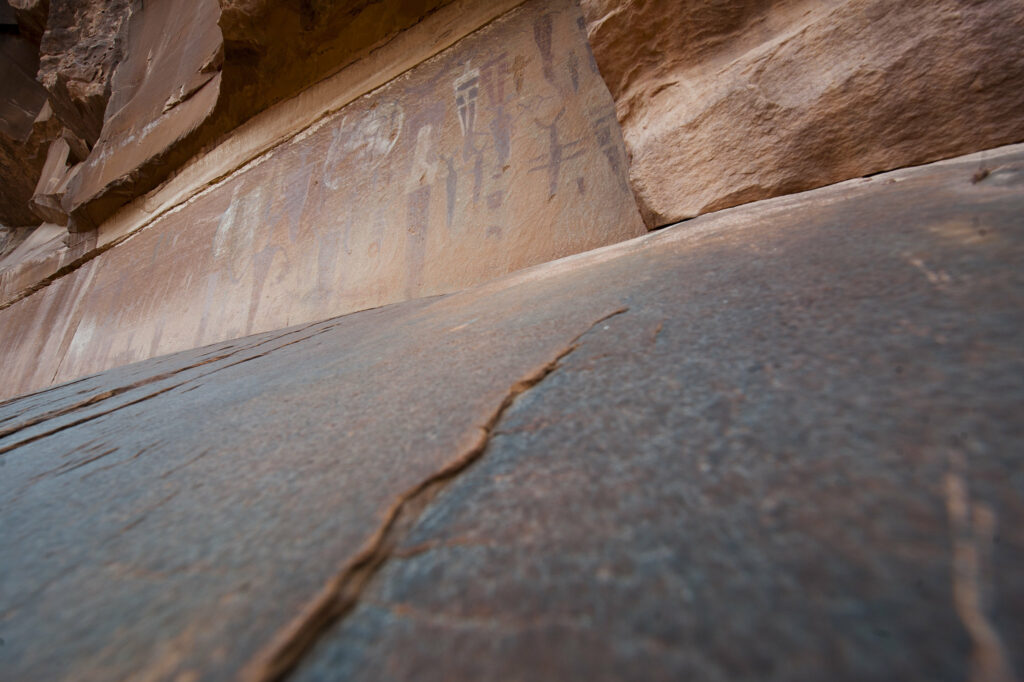
Courthouse Wash Rock Art
Courthouse Wash Rock Art Trail begins outside of the park and leads into the park boundary after leaving the parking area. The Trail begins from a gravel pullout off the right side of Highway 191 after crossing the Colorado River, leaving Moab. Rock art is common at crossroads and near waterways, this location is where Courthouse Wash meets the Colorado River. The trail is about 500-feet to the start of the rock art. If you round the point of the cliff or enter Courthouse Wash, you have gone too far.
Climbing on or touching the rock art is illegal. Please help protect these drawing and report all illegal activity to the rangers.
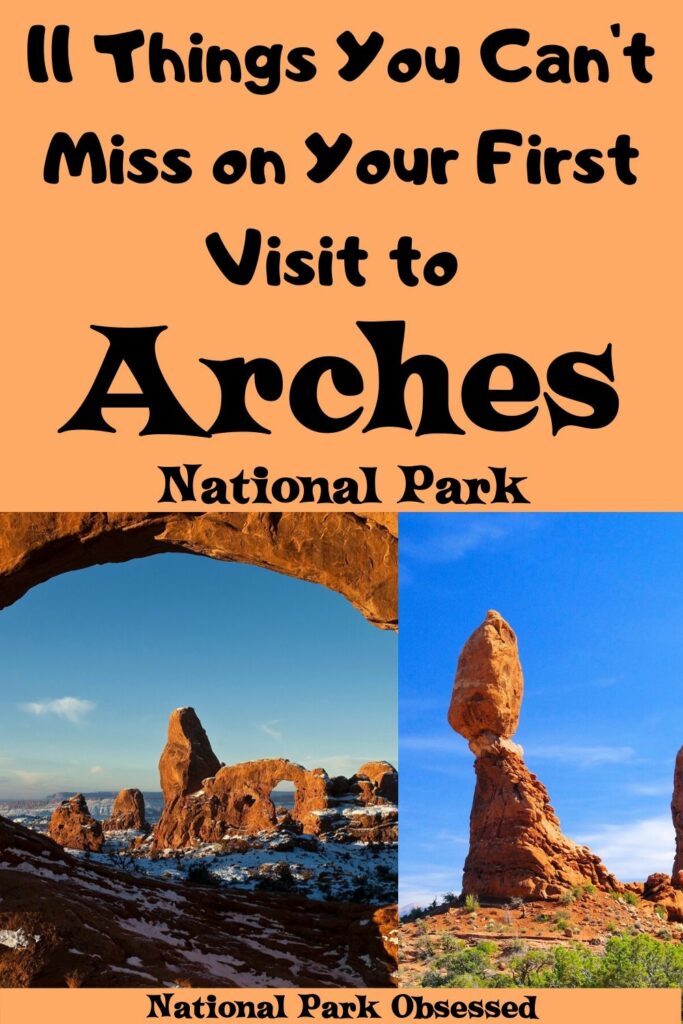
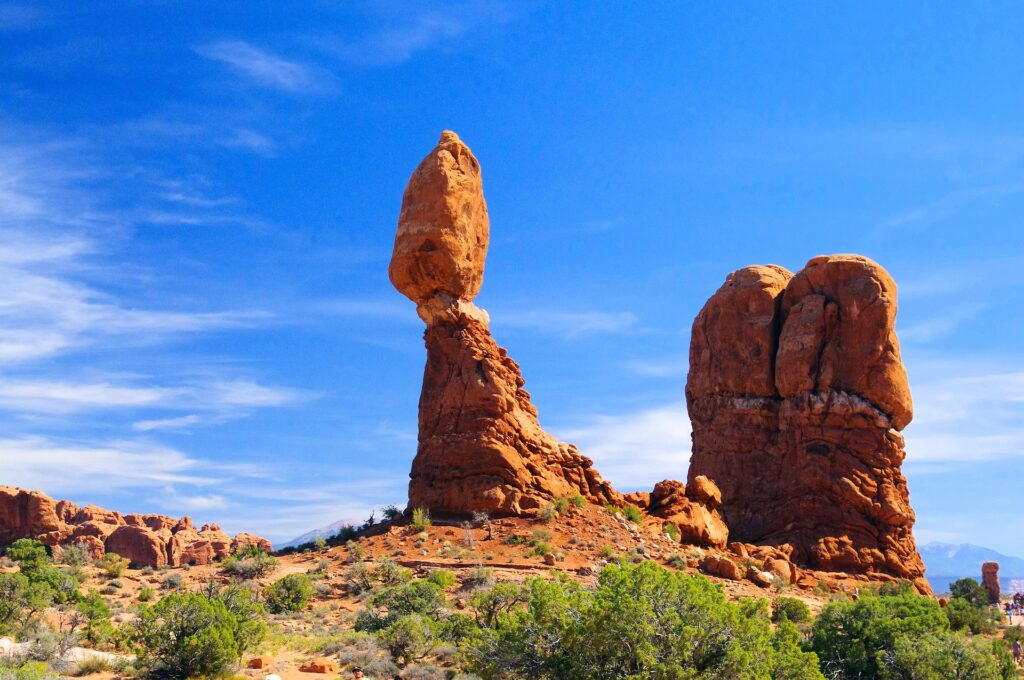
Balanced Rock
Balanced Rock Loop Trail begins from the parking area across from the Willow Springs Trail junction. There is limited parking at the trailhead. The 0.3-mile loop leads around the Balanced Rock, an estimated 3,600-ton rock balanced on a pedestal 128-feet in the air.
Balanced Rock is visible from the park road if there is no parking available. This location is a key destination for stargazing and night photography due to easy access and the distance from Moab’s lights. There is a picnic area with multiple tables, a covered canopy, a vault toilet, and trash/recycling bins to the west of the trailhead.
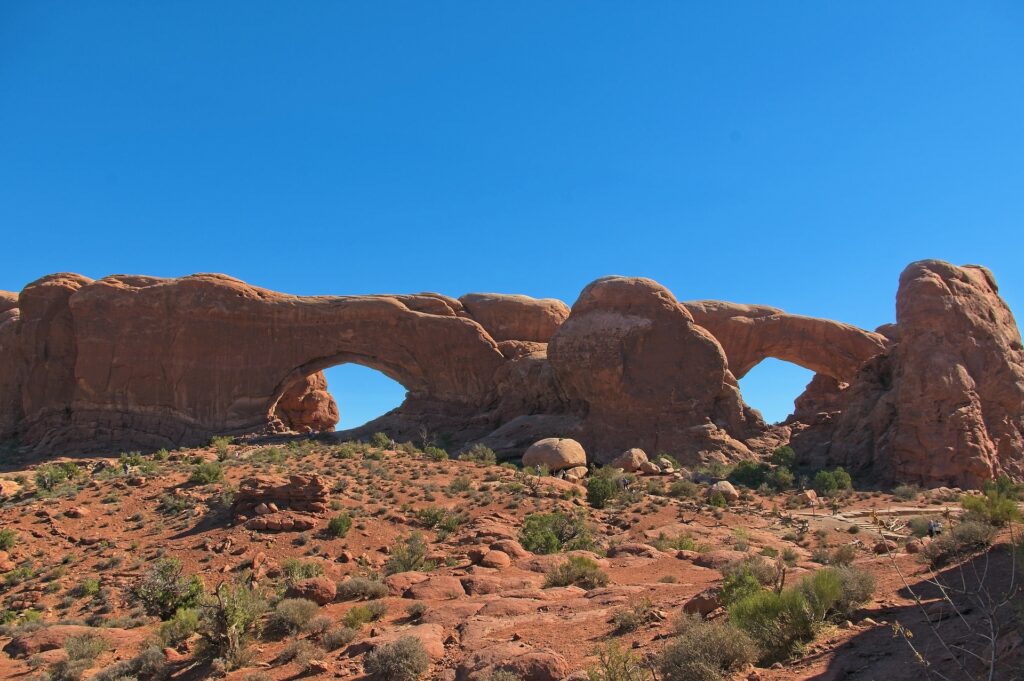
The Windows
The Windows Loop Trail begins from the parking area at The Windows area of the park. This area of the park contains the largest concentration of arches within the park. The 1-mile loop leads to two arches separated by a “nose” structure that measures over 100-feet wide. The North and South Windows are carved from the same sandstone fin. While on The Windows Trail, there is a spur loop that leads up to Turret Arch. The loop up to Turret Arch is more difficult and involves uneven surfaces and elevation gain.
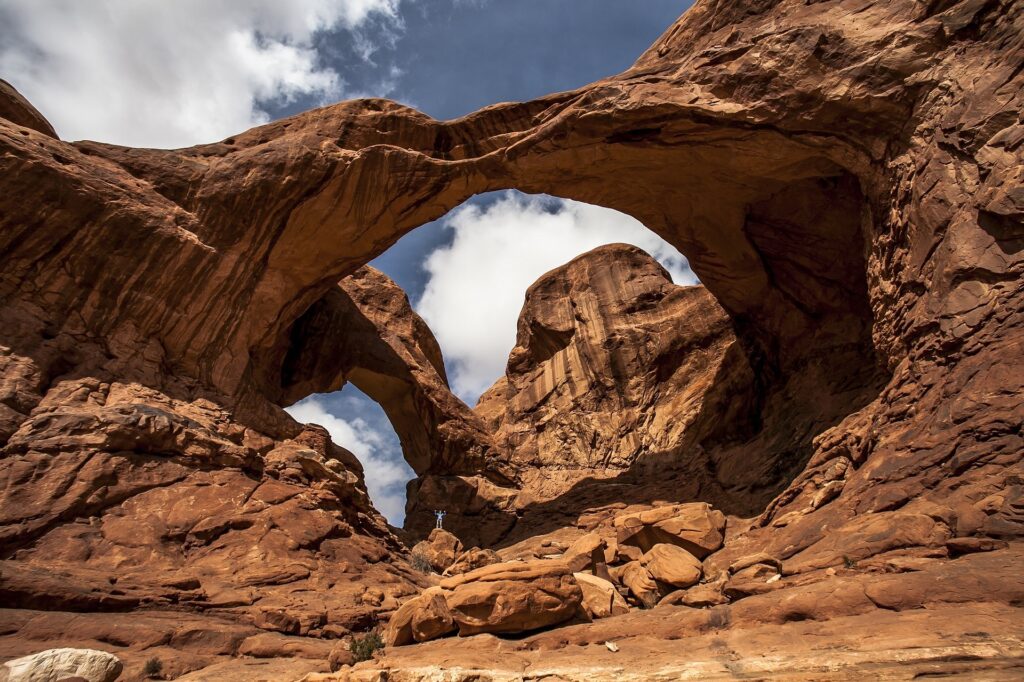
Double Arch
Double Arch Trail begins from the North-end of The Windows parking area. The 0.5-mile roundtrip trail is a relatively flat gravel surface that is wheelchair accessible with assistance. The trail leads to two arches that share the same foundation for both legs. Unlike most natural arches the Double Arch was formed from downward water erosion from the top of the sandstone.
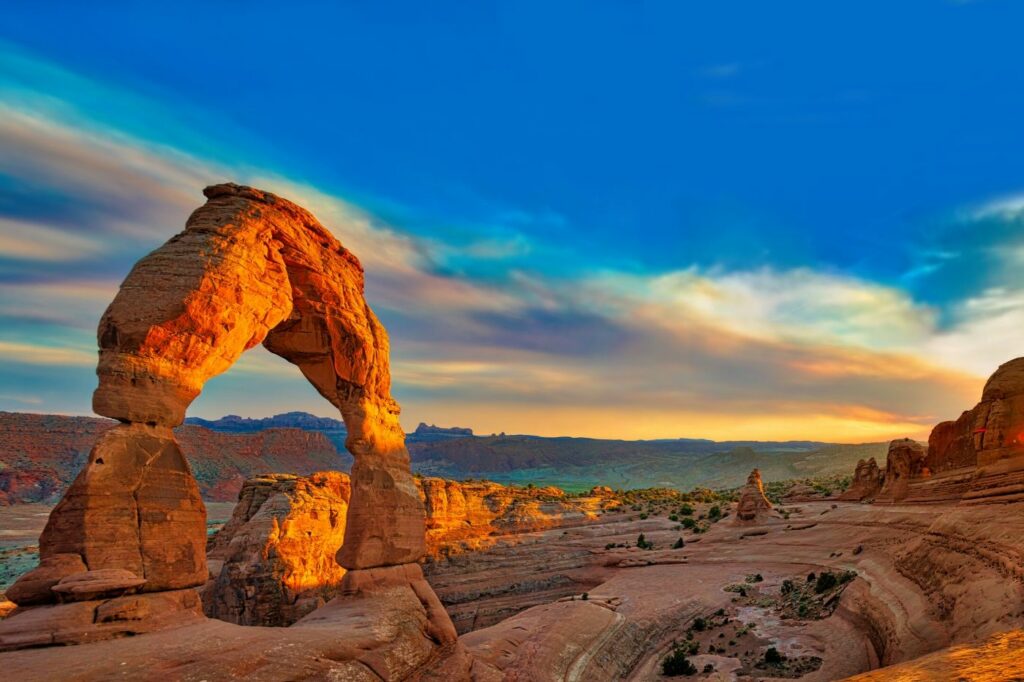
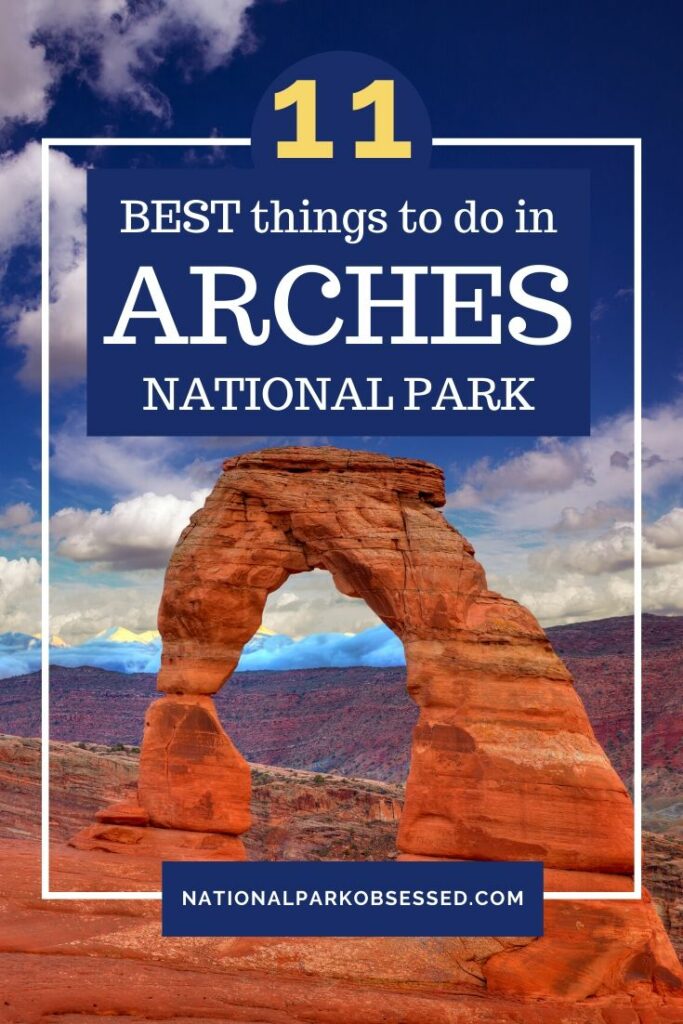
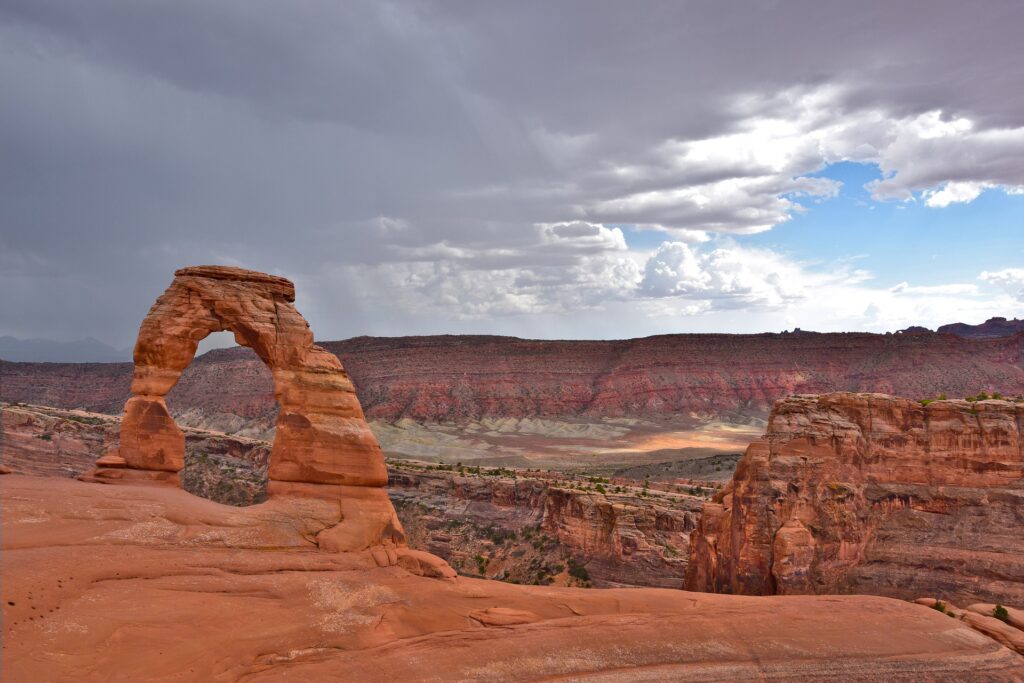
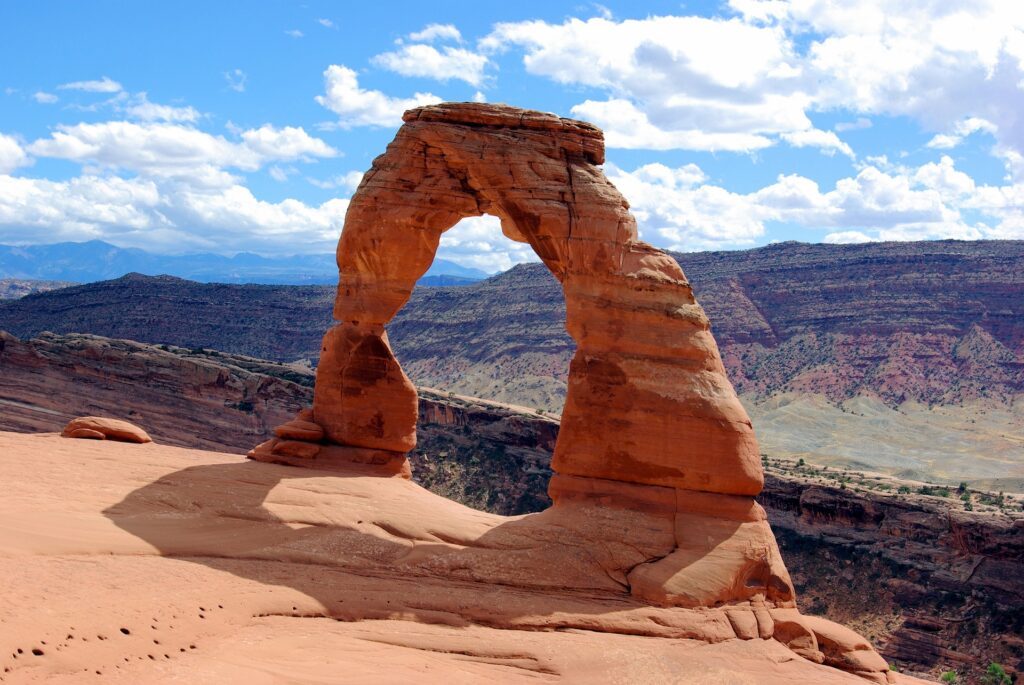
Delicate Arch
Delicate Arch Trail begins from two different locations depending on your destination. Both trails show the beauty of the most iconic arch within the park. The shorter trail begins from the end of Delicate Arch Road. The 0.5-mile trail leads to a viewpoint 1-mile away from Delicate Arch. The longer trail begins from the Wolfe Ranch parking area at the beginning of Delicate Arch Road. The Wolfe Ranch parking area fills fast, parking is not permitting along Delicate Arch Road. Additional parking is available at the Delicate Arch Viewpoint; however, an extra 2-miles will be added to the original hike from Wolfe Ranch.
The 3-mile strenuous trail climbs 480-feet in elevation. The trail crosses open slick-rock with no available shade, 2L of water recommended per hiker. The first 0.5-miles of the trail are clearly defined and then transition into following carins (a short stack of rocks). Just before reaching Delicate Arch there is a narrow 200-yard rock ledge to hike across. Once across you will be standing at the base of Delicate Arch, towering 46-feet high and 32-feet wide. Prepare for other hikers to be around the arch and on the trail.
It is not uncommon for more than 100 people to be surrounding the arch during peak season, also during sunset hours. Please carry a flashlight with you when hiking up for sunset. Don’t join the 8 individuals I located wandering aimlessly without flashlights on the slick rock one night when I hiked back from the arch around midnight.
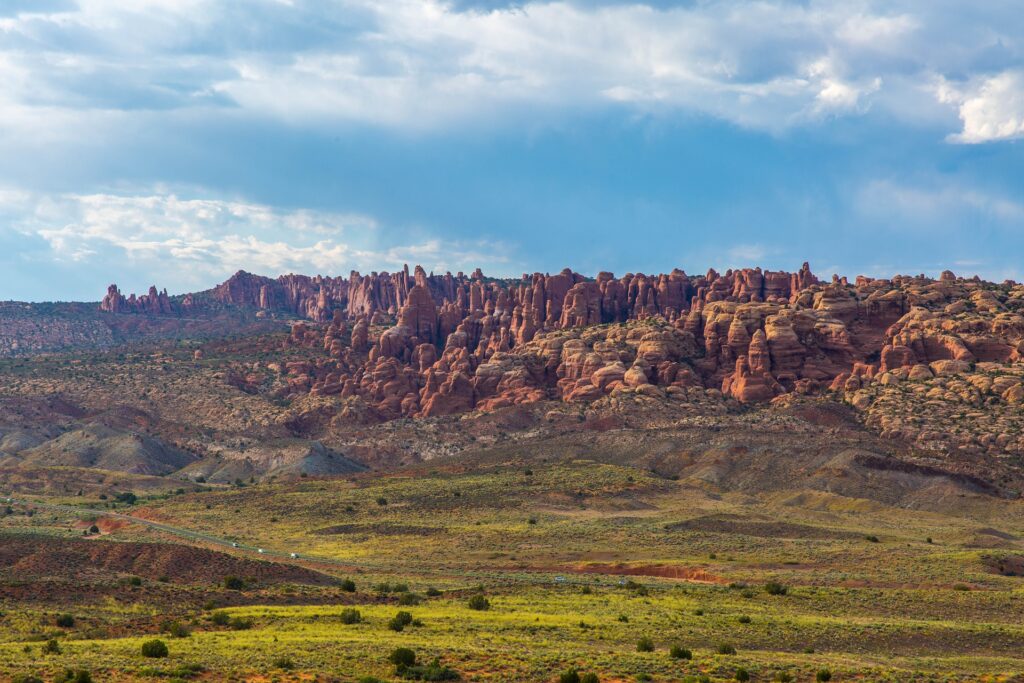
Fiery Furnace
Fiery Furnace is a unique maze-like rock formation. The Fiery Furnace viewpoint offers an amazing view of this unique geological formation. It is possible to get a closer look at this formation via a is a permit only hike. Access to this hike is via a guided ranger tour or an individual permit. It is highly recommended that unless you are experienced with a map and compass navigation, you take the guided ranger hike. There is a small fee for guided hikes and permits.
Ranger-guided hikes are offered a couple of times a day and a reservation is required. The morning hikes can be reserved up to six months in advance via www.recreation.gov. The afternoon hike reservations must be made in person at the visitor center up to seven days in advance.
The 2-mile loop begins from the Fiery Furnace viewpoint located off of the park road. The trail is challenging and provides no GPS signal, trail markers, or signs. Once you have begun the trail all hikers must finish the loop. All hikers are required to have proper equipment; good hiking shoes, 1L of water, a backpack to allow free hands when climbing, and no tripods. The trail consists of walking and climbing on irregular and broken sandstone, narrow ledges, loose sand, jumping across small gaps, squeezing into and through narrow areas, and holding yourself in the air using hands and feet pushing against the walls.
Due to the challenging nature of the trail children under the age of 5 are not allowed and all children under the age of 12 require an adult companion. A video outlining what is expected is required to view at the Visitors Center before purchasing a permit or guided trip.
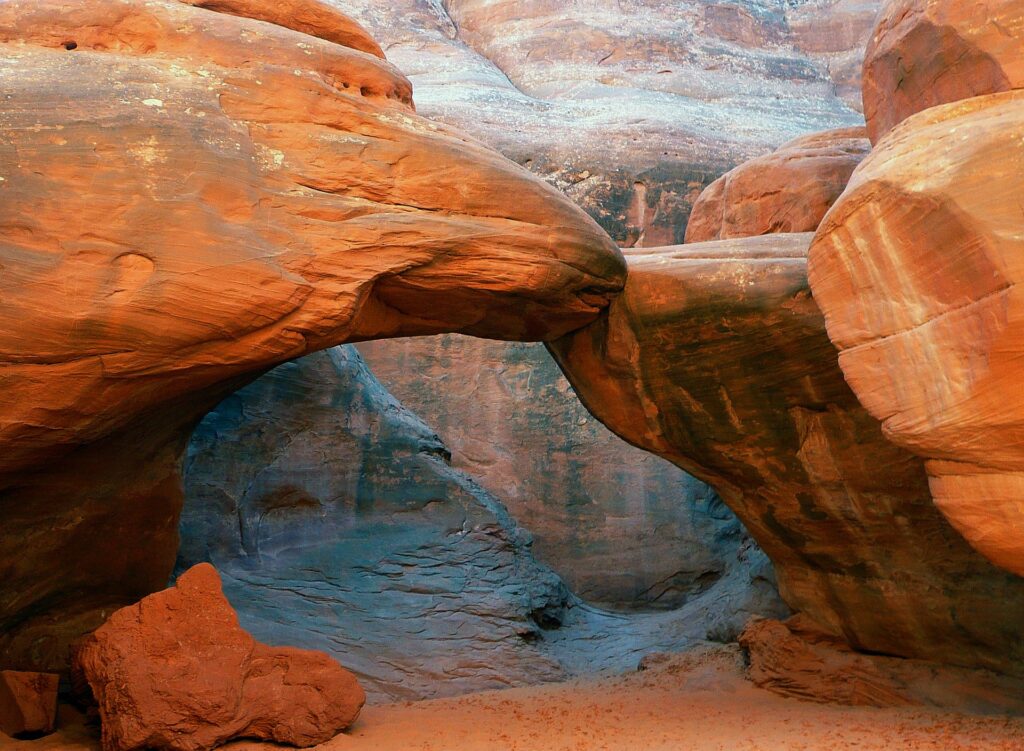
Sand Dune Arch
Sand Dune Arch Trail begins from the parking area located off of the park road. The 0.3-mile roundtrip trail is heavily trafficked. The trail leads to a ground-level arch that is flanked by two fins on either side. The arch is surrounded by shady sand which visitors enjoy taking off their shoes in the cool sand (hot in the summer months). The trail ends in a very narrow slot canyon before opening up after a few hundred yards to reveal Sand Dune Arch.
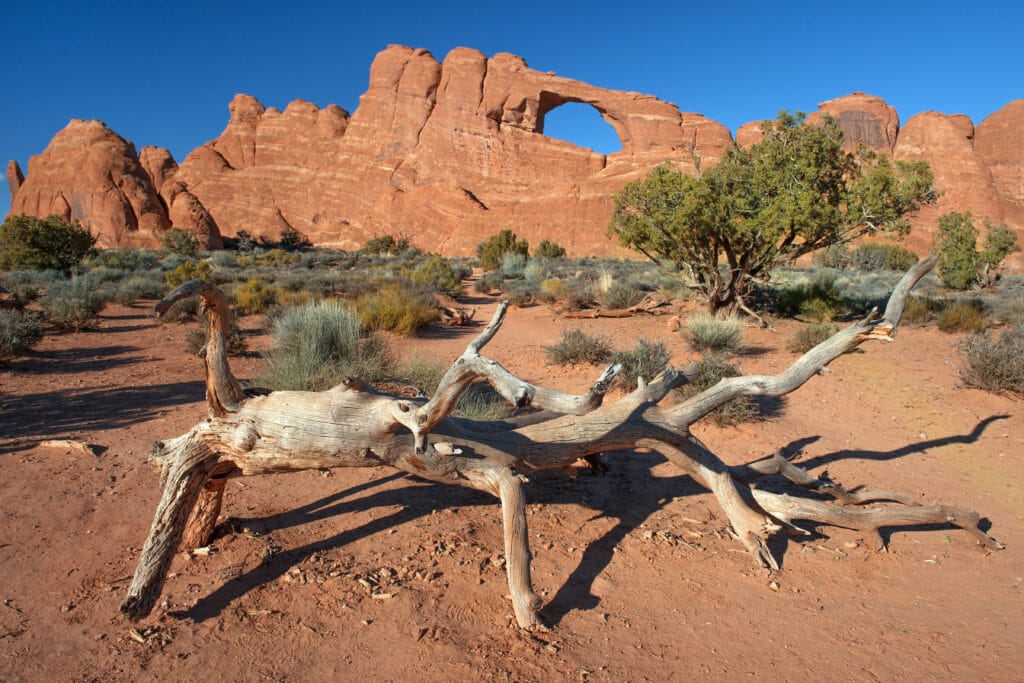
Skyline Arch
Skyline Arch Trail is the closest arch to the Devil’s Garden Campground. The Arch can be viewed from either the 0.4-mile roundtrip trail viewpoint located off of the park road or from the Devil’s Garden Campground amphitheater. The amphitheater location provides wheelchair-accessible viewing. Skyline Arch is one of the more popular arches due to easy access, a great hike for campers who arrive later in the afternoon.
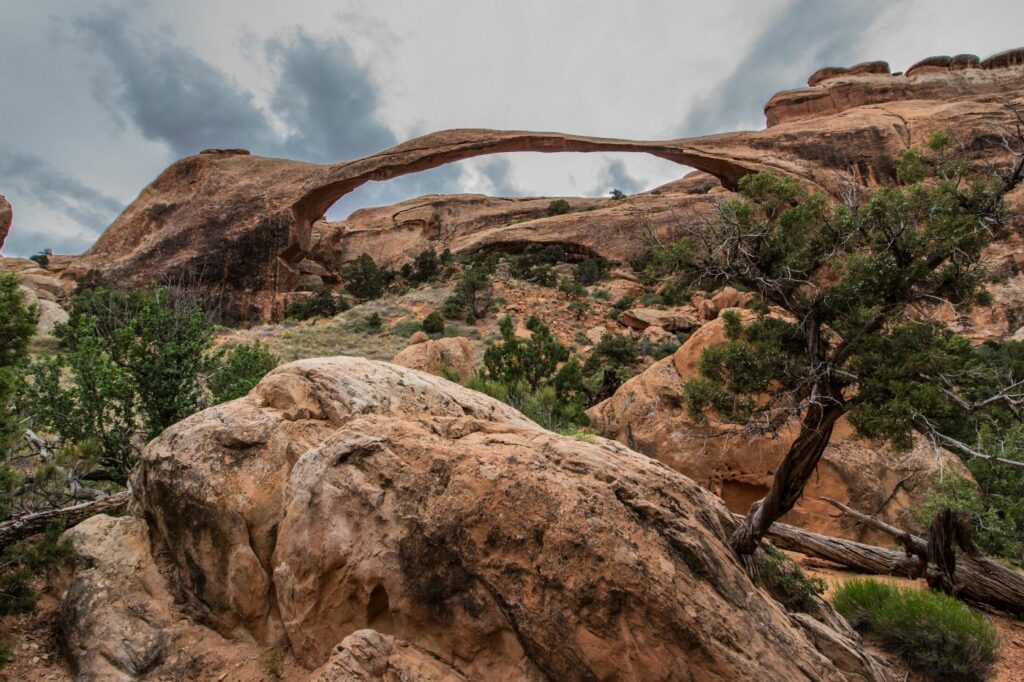
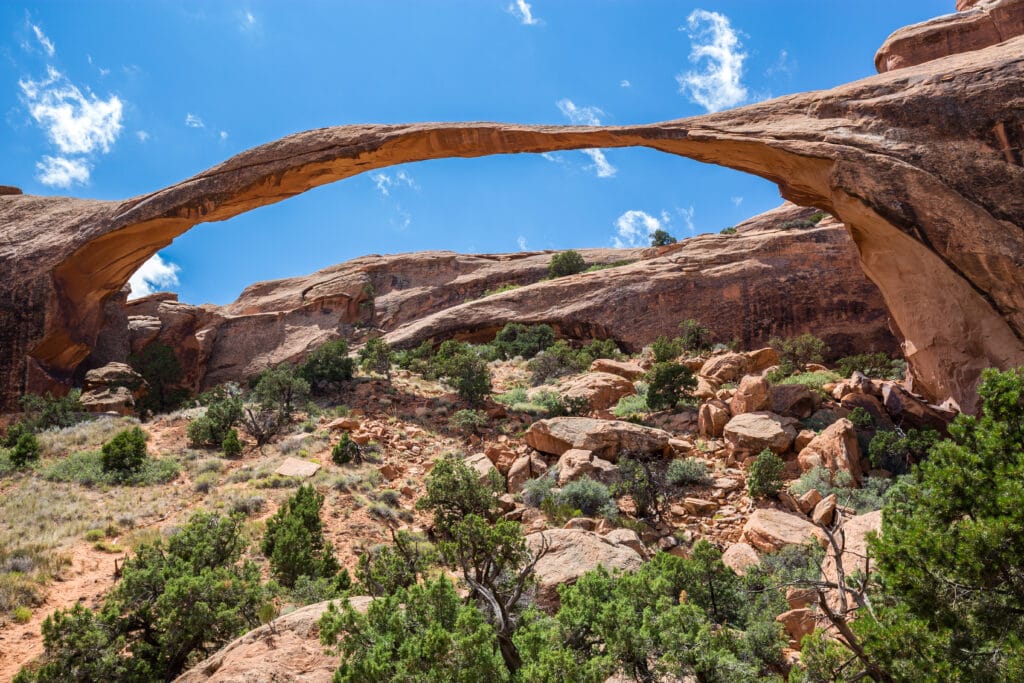
Landscape Arch
Landscape Arch Trail begins from the Devil’s Garden Trailhead. The relatively flat and gravel 1.6-mile roundtrip trail leads to the longest natural arch in the United States. Landscape Arch is a ribbon of rock that spans more than 100-yards. After arriving at Landscape Arch the trail does continue further into Devil’s Garden; however, it becomes more difficult requiring rock scrambling, narrow ledges, and exposure to heights.
Devil’s Garden
Devil’s Garden is the area where the park road ends. This area contains natural wonders including arches, spires, and fins. This is one of the more popular areas of the park due to the access to camping, backpacking, and picnic areas. Within the area there are three major destinations; Landscape Arch, Double O Arch, and the Primitive Trail. Double O Arch is located beyond Landscape Arch at 4.5-miles roundtrip. Primitive Trail is the longest trail within the park at 7.2-miles roundtrip it is one of the most challenging within the park, but offers unbeatable views.
Final Thoughts on Must See At Arches National Park
More Information for your trip to UTAH
- UTAH: National Parks in Utah: Explore the 13 Utah National Parks
- SALT LAKE CITY: Best RV Rentals in Salt Lake City for a National Park Road Trip
- UTAH ROAD TRIP: The Ultimate Utah National Parks Road Trip 7 Day Itinerary
- ARCHES: Visiting Arches National Park
- BRYCE CANYON: Visiting Bryce Canyon National Park
- CANYONLANDS: Visiting Canyonlands National Park
- CAPITOL REEF: Visiting Capitol Reef National Park
- ZION: Visiting Zion National Park
- Zion Shuttle: What you need to know about Zion National Park Shuttles
- How to Make the Most Of One Day in Zion National Park
- Zion National Park Swimming: Can You Swim in Zion National Park?
- The 19 ABSOLUTE Best Hikes in Zion National Park
- A Complete Guide to Hiking Angels Landing in Zion National Park
- The Ultimate Guide to Camping in Zion National Park
- Where to stay in Zion National Park? 21 Best Zion Hotels
- Zion Airbnbs: 17 Epic Airbnbs near Zion National Park
- 19 Things To Do Near Zion National Park (that don’t involve the Zion Shuttle)
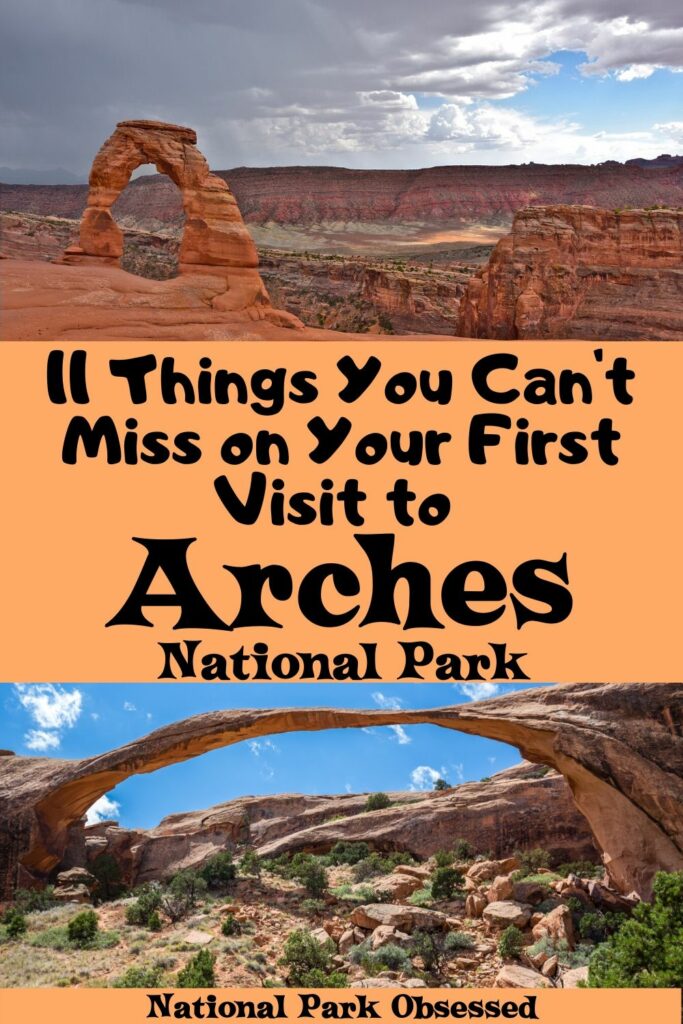
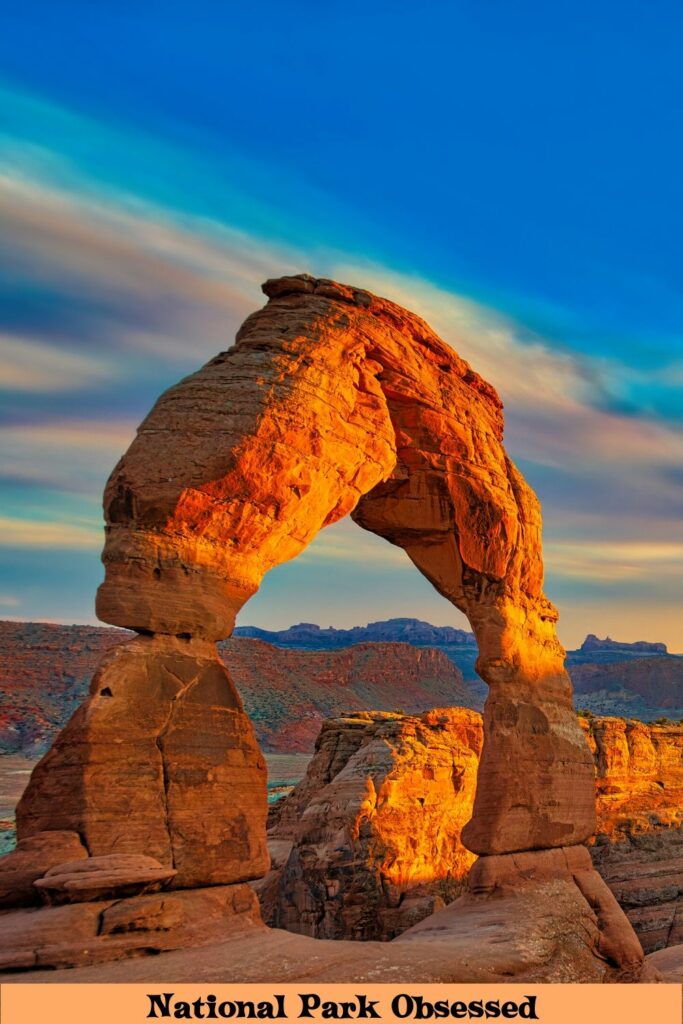
Pin for Later: 11 Things You Can’t Miss on Your First Visit to Arches National Park


Hi, I'm Jennifer!
Welcome to the wonderful world of National Parks. I'm here to help you plan your NEXT amazing adventure through the United States National Parks and beyond. I want the national parks to be accessible to all.
I live in Tennessee, and when I'm home, you can find me hiking in the Smokies and the Cumberland Plateau.
58/63 National Parks
250+/423 National Park Units
Want to know more? Start Here.
Snag one of my National Park Ebooks and Downloadable Itineraries
Talk with an Expert
Share your love of the parks with a shirt, ornaments, hoodies, frames, and more.